It's Spring, and with the emergence of the crocus and daffodil it's also time to think about Easter and egg dying. If you're like me then growing up then you probably used the little colored pellets dissolved in vinegar and water to dye your eggs. It was the tradition. Long before there were pre-made dye pellets people used natural coloring for eggs. Today's post is all about how you can make your own dyes from foods and household objects. The nice thing about natural egg dying is that you can compost all of the materials you use to make the dyes and it's OK to eat the eggs after they are dyed.
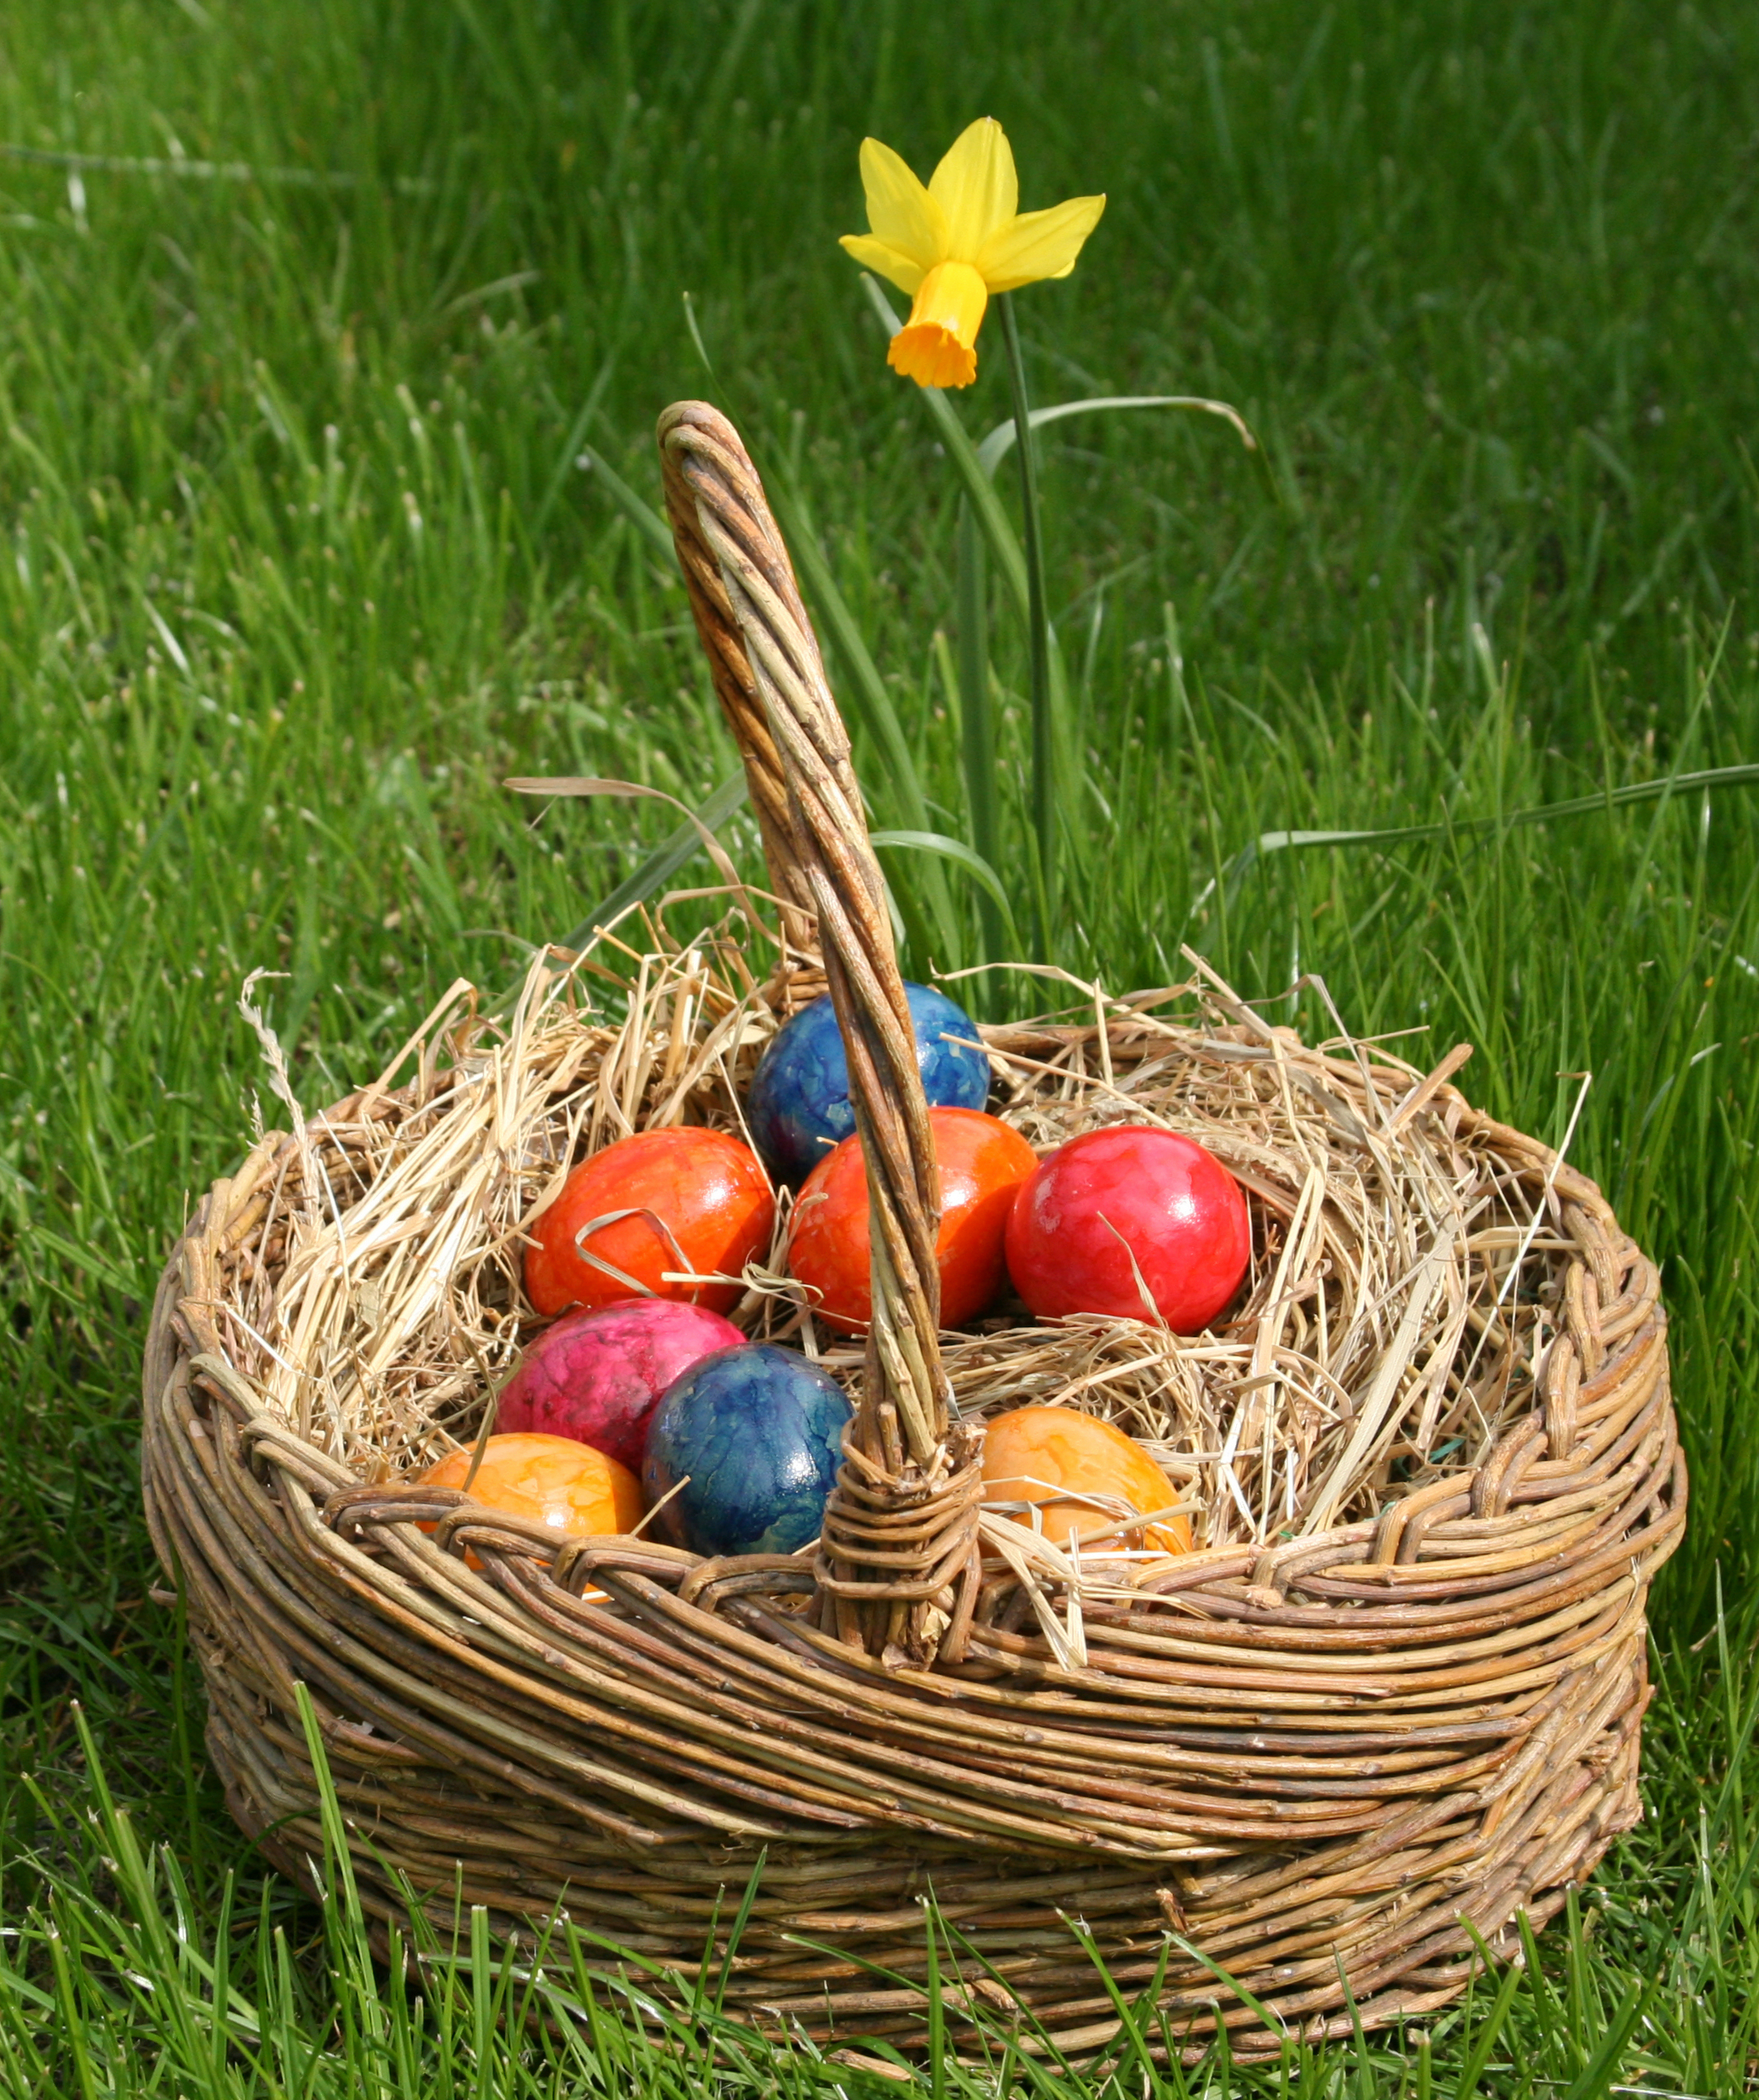
Here are some examples of naturally dyed eggs (Photo: Karen McDonald)
You're going to need a few things before you get started:
Stove top
Pots for boiling materials (3-4)
Newspaper
Bowls for holding dye, that you won't mind getting "dyed." Tupperware or glass bowls work well.
Large metal spoons
Paper Towels
Crayons
Rubber bands
White Vinegar (2 large bottles)
Hard boiled eggs (1-2 dozen), with paper carton (paper absorbs excess dye best)
Metal stirring spoons for cooking
Dixie cups (optional)
There are many different types of foods that provide coloring when they are cooked or boiled. It's up to you which foods or items to choose. Below is a list of suggested materials and a how I found their effectiveness as dyes:
Suggested Materials for Egg Colors
NOTE: If you see this symbol * it means add white vinegar to the final cooked or made dye to fix the color. 1-2 tbl should work. As a rule you should also have about 3-4 cups of vegetable materials for each cup of dye.
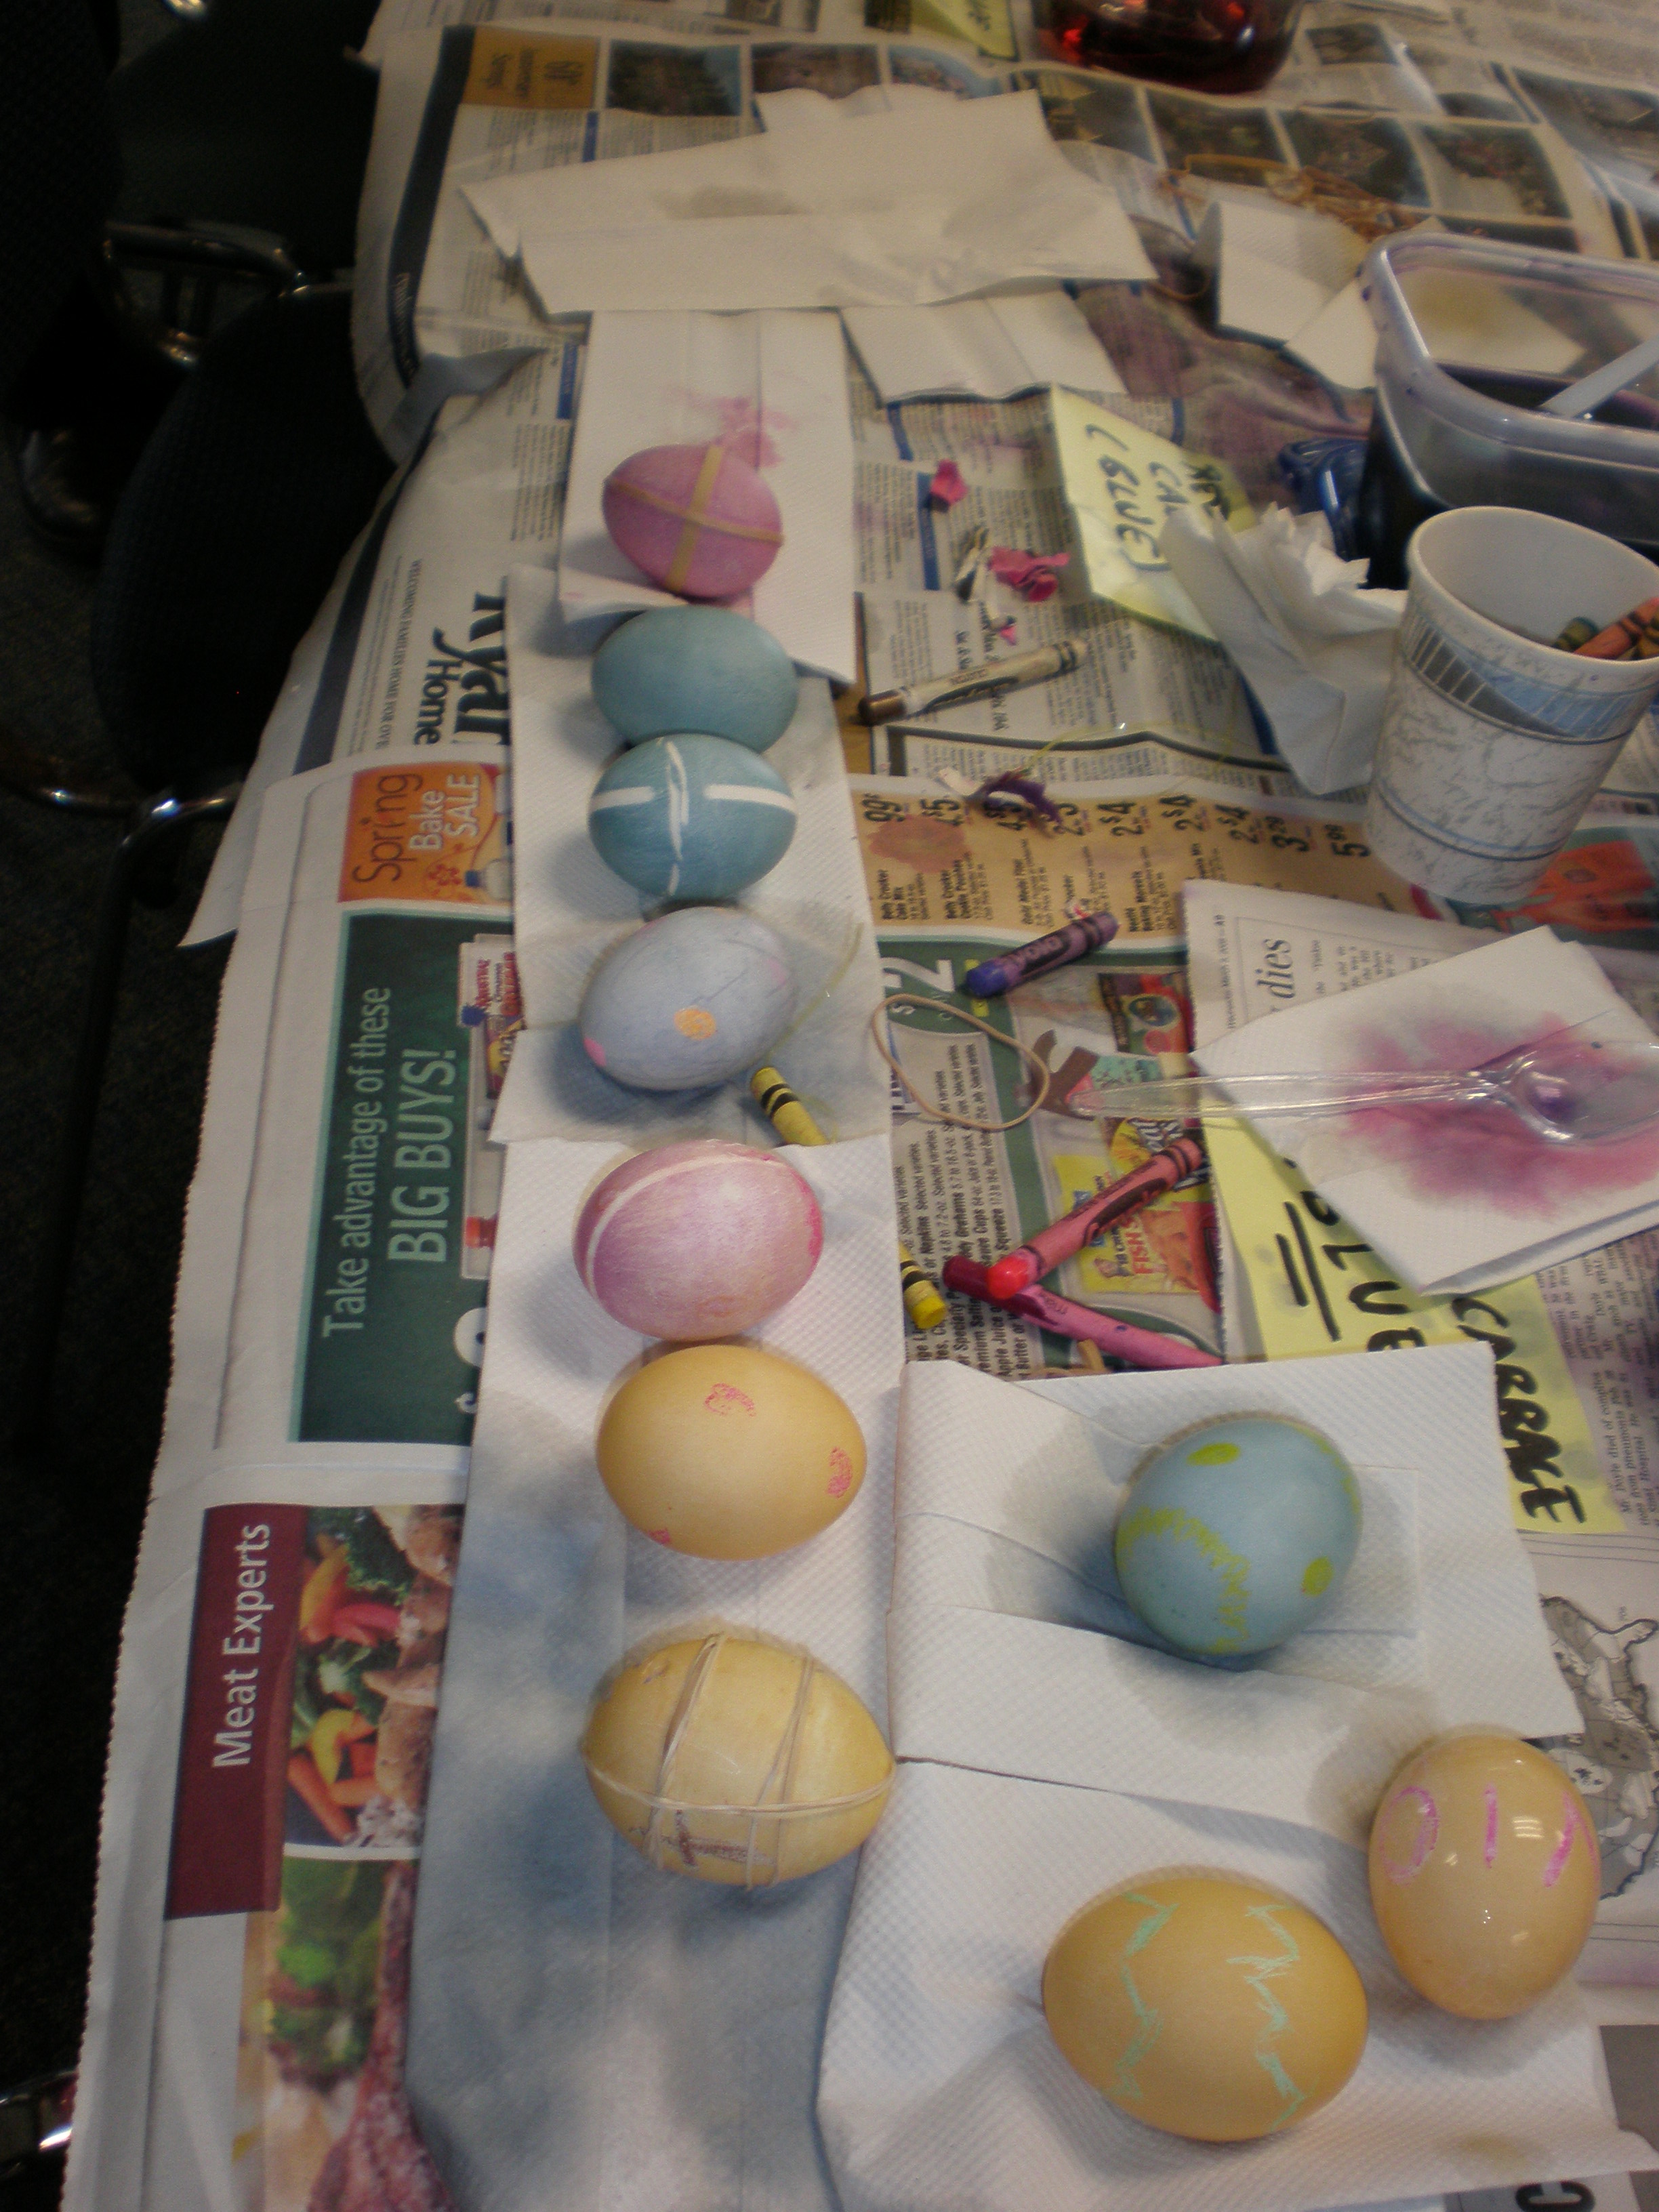
Some examples of naturally dyed eggs using dyes, rubber bands, and crayons. (Photo: Karen McDonald)
Works Well
Blueberry Juice [blue-grey](5-6 oz) :I saved the juice from blueberry muffin making or you can blend frozen blueberries.*
Red Cabbage [robins egg blue] (1 head): You'll need to cook this to get the color, so chop it up and put in in enough water to cover and cook away!*
Coffee [brown] 1 pot: You should make a very strong pot of coffee for the dye, and let it sit for a while to cool and get stronger.*
Turmeric [gold] (3-4 tbl): You can cook up a solution with 2 cups of water or so and powdered turmeric from your spice cabinet.*
Paprika [light orange] (3-4 tbl): You'll have to heat this with about 20 oz of water to make a solution. *
Yellow Onion Skins (5-6 large onions skinned): You'll have to cook the skins in about 2 cups of water for a good dye.*
Red Onion Skins [green] (5-6 large onions skinned): You'll have to cook the skins in about 2 cups of water for a good dye.*
Powdered mustard [yellow gold] (3-4 tbl): Very strong color if concentrated and cooked in about 2 cups of water.*
Canned Beets [bright pink] (1 can): The juice from canned beets is amazing. You may need to dilute it a bit and remember this is a permanent dye!*
Tried But Doesn't Work
Grape Juice [purple] (8-12 oz): I found that using grape juice from the shelf didn't work, it would probably work better using wine or crushed grapes, but that can be expensive.*
Spinach [green] (1 box frozen): Spinach did not work for me at all! I cooked it down and it was a complete failure. Please note, if you add vinegar it will make the chlorophyll of the dye disappear and it will turn clear!
Tomato Juice [pink] (1 can): This didn't work for me at all, maybe it was the brand, but feel free to try alternatives such as mashed or canned tomatoes.*
Cranberries [pink] (1 bag frozen): I tried cooking these and no major dye or color. *
Cinnamon powder [brown] (2-3 tbl): I mixed cinnamon in water and cooked but it didn't work at all.*
Cranberry juice [pink] (8-12 oz): You can use the juice found in bottles from the grocery store.*
You'll have to decide which of the colors you want to use, and what works best for your budget and time. I find that if you make big batches you can share the dyes with neighbors or have an egg dying party.
Here are a few hints for the dying process:
Always supervise children when making dyes and using the stove top.
Make sure that all your surfaces are protected. You don't want to dye anything important, this includes clothing and shoes.
Hard boil the eggs first!This may sound silly but I've had many parents show up to the egg dying class with raw eggs! White eggs work best for dying though brown or green chicken eggs work too.
When dying eggs you can either put the eggs in the hot liquid dye for a stronger color, or if you're working with children allow the dyes to cool and do the cold method of dying. If you refrigerate the dyes overnight they'll be stronger.
You might want to experiment with rubbing the eggs lightly with a fine grained sandpaper to allow more uptake of dye.
Have the children write their initials on the eggs with crayons, this way there is no confusion as to whose is whose. This can be a major issue in large households!
Draw on the eggs with crayons and use rubber bands to block out stripes and patterns of "white" when the eggs are dyed. Wait until the eggs are dry before removing the rubber bands.
Use Dixie cups with dye in them to do 1/2 egg coloring.
When making dyes be sure to allow them to sit and cool, then add vinegar to set the color (except spinach).
Old coat hangers bent into curves and loops can help as egg "removers" or dippers.
The longer an egg sits in the dye the more colorful it will be.
Paper egg cartons work best because they absorb excess dye. If you use plastic egg cartons be prepared for dripping or liquid dye in the bottom of the containers. This can get messy.
This is a quick and simple guide to natural egg dying. You'll have to get in there and figure out what works best for you. Happy Easter!
Infinite Spider
My name is Karen and I am currently the Education Program Coordinator at the Smithsonian Environmental Research Center, working with students K-gray and doing outdoor science education based on Smithsonian research. I have also been a curriculum developer for the Smithsonian Science Education Center and a contract curriculum writer for the Discovery Channel. In my spare time I love to explore nature topics that I want to know more about, which has lead me to blogging here on "The Infinite Spider" (Infinitespider.com). I've designed it to be a science and nature blog for every-day people, naturalists, and outdoor educators. Currently I live in Annapolis, MD. If you have questions you can reach me at greathornedowl76@gmail.com. Let me know if you enjoy the blog or if you would like to see a particular topic covered. Thanks for reading!